MARCH DO’S AND DON’TS FOR HEALTHY LANDSCAPE HABITATS
Leave a reply

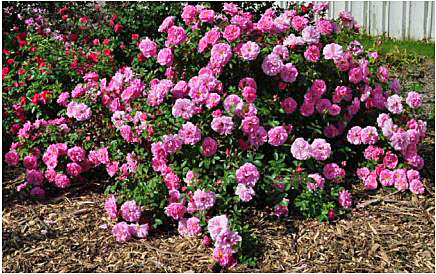
The hydrid Kordesii Rose John Davis is a hard-working rose that blooms periodically from June to September on new wood. Prune it in late winter for the strongest show all season.
Late winter to early spring is a terrific time for pruning many shrubs. What should you prune and when? You could study pruning for an entire semester, but here are some basic guidelines. I recommend that you properly identify, then research, each particular kind of woody plant before you consider your first cut:
Please feel free to contact Carol with any questions.
Here’s the short answer to how to stake peonies, Rudbeckia laciniata ‘Herbstonne,’ baptisia, asters and other tall and/or vase-shaped perennials that are at risk of collapsing under their own weight this season. Do these in the spring:
EIGHT STEPS TO STAKE GARDEN PEONIES
For more answers, here’s an expanded explanation:
Please join me at 7 p.m. tonight at the Easton Garden Club’s monthly meeting where I’ll be leading a free soil testing workshop and also presenting a brief tick talk. The meeting is at the Covenant Congregational Church on Centre Street, in the basement gymnasium. More comprehensive testing from UMass for fertility or fertility plus organic matter is available at a small extra cost. The Club will provide bags and ship your sample to UMass.
For each garden area you want tested, bring one clean one-quart clear glass jar and lid, with 3-1/2 cups of dry soil.
THE SINGLE MOST IMPORTANT THING ABOUT SOIL TESTING is to properly sample and let your soil air dry. Info and instructions are below.
What to Bring:
1 Clean, dry one-quart clear glass jar with fairly straight sides, with a tight fitting lid for each sample you want tested. A pasta sauce or mason jar works quite well.
3-1/2 Cups of dry soil in your jar for every sample you want tested. **REMEMBER to properly sample and dry your soil before putting it in your jar.
How to Sample Your Soil:
The most critical step in soil testing is collecting the sample. It is important that you take the necessary steps to obtain a representative sample; a poor sample could result in erroneous recommendations.
The first step is to determine the area that will be represented by the sample. For instance, your veggie garden might be one sampling area, your front island bed another, and your backyard lawn still another. Soil physical appearance, texture, color, slope, drainage, past management and current intended use should be similar throughout the area. It may be helpful to draw a map of the property and identify areas where you will collect samples.
Using a clean bucket and a spade, auger, or sampling tube collect 12 or more sub-samples to a depth of six to eight inches (four to six inches for turf) from random spots within the defined area. Avoid sampling field or plot edges and other non-representative areas.
Avoid sampling when the soil is very wet or within six to eight weeks after a lime or fertilizer application. Next, break up any lumps or clods of soil, remove stones, roots, and debris, and thoroughly mix sub-samples in the bucket. Once the sample is thoroughly mixed, scoop out a little more than one cup of soil and spread it on a clean sheet of paper to air-dry. A fan set on low will help speed the drying; do not apply heat.
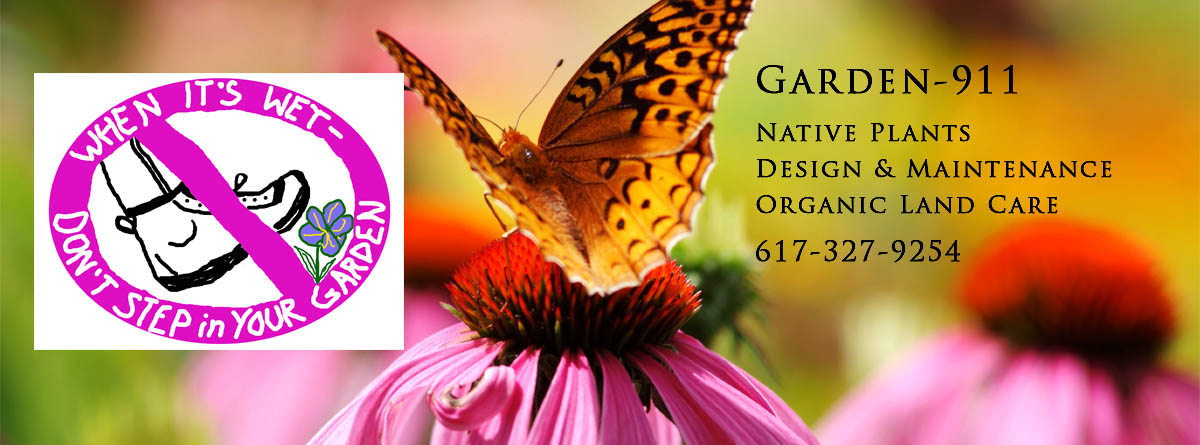
A note from a friendly frittilary butterfly: stepping in your garden or working on your lawn when the soil is wet damages your plants’ ability to thrive. (Image 2017 Carol Lundeen. ALL RIGHTS RESERVED)
#1. CAUTION: WET SOIL – DO NOT ENTER YOUR GARDEN – OR WORK ON YOUR LAWN!
#2. GET YOUR SOIL TESTED – BEFORE YOU PLANT!
#3. START YOUR COOL-SEASON VEGETABLES – ONCE THE SOIL DRAINS!
#4. EAGER TO JUMP START YOUR LAWN?
#5. MONITOR FOR WINTER MOTH CATERPILLARS
(BONUS #6.) CELEBRATE ARBOR DAY BY PLANTING A TREE ON APRIL 28
AS ALWAYS,PLEASE FEEL FREE TO CONTACT ME IF YOU HAVE ANY QUESTIONS OR NEED A HAND!
EMAIL CAROL OR CALL 617-327-9254
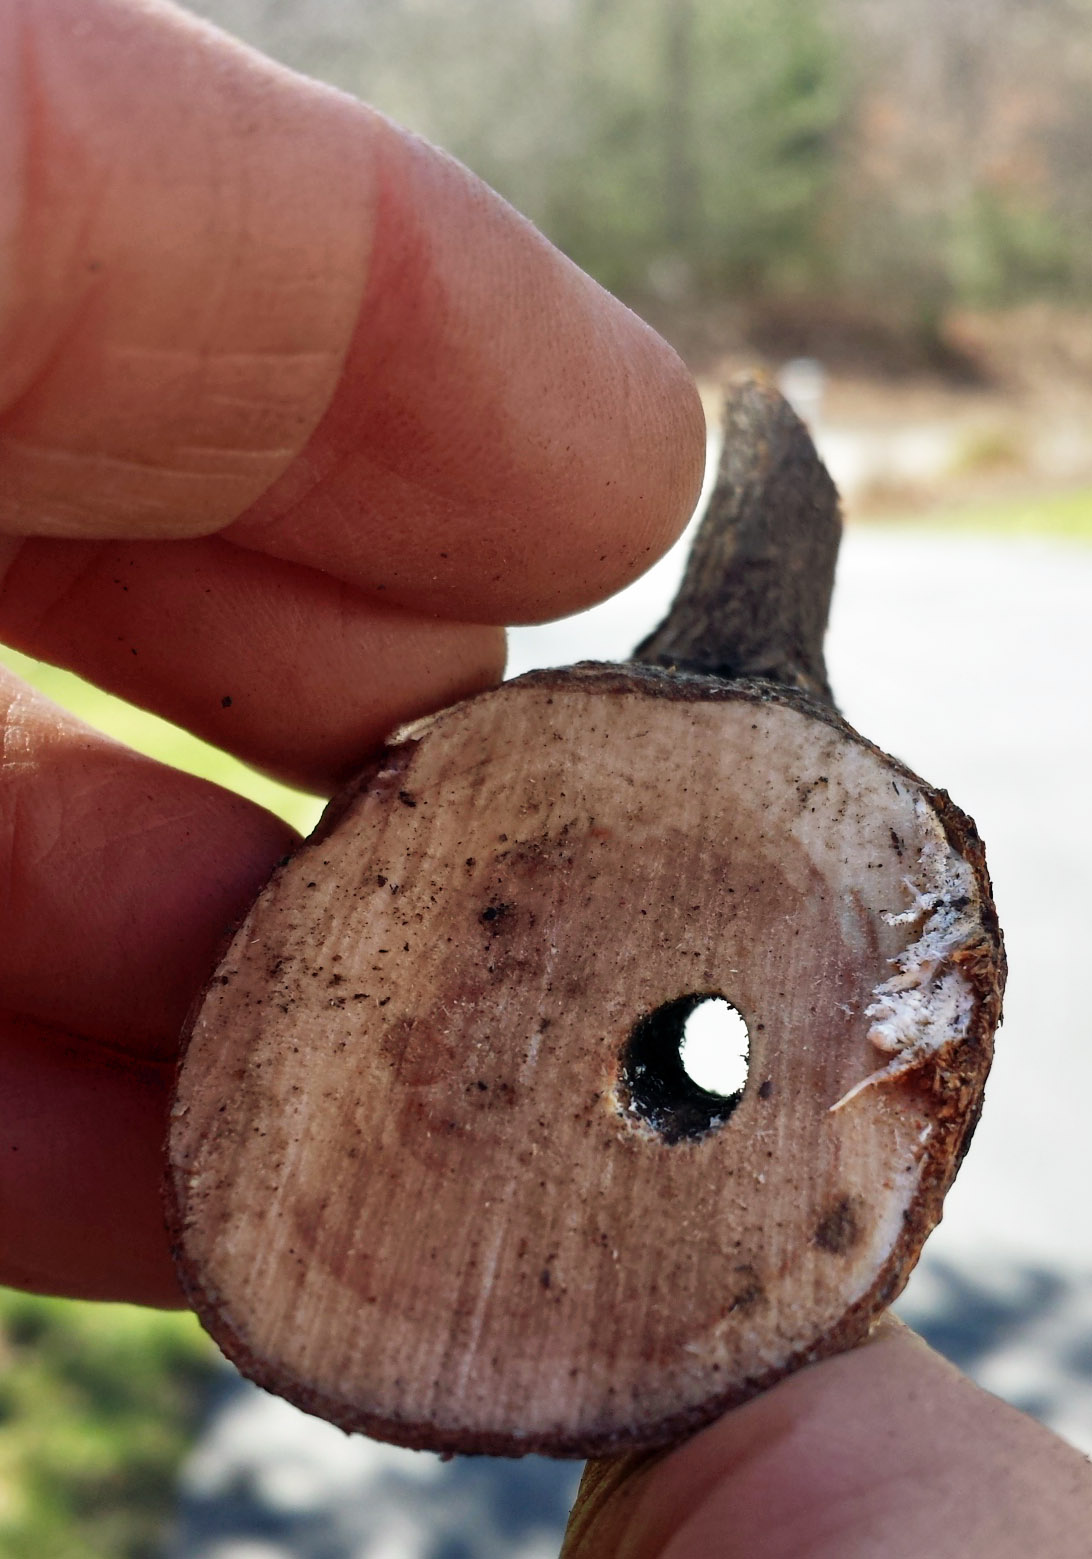
Cross-section of a rhododendron branch with a hole in it. A Rhododendron borer has tunneled all the way through this branch, and the branch is dead.
Could it be rhododendron borers? I started spring pruning for an organic gardening client in Sharon last week, on one of those yummy sunny 60 degree March days. Near her front door are broadleaf evergreen shrub beds on either side of an elegant entry path. My goals were to prune out any dead, use selective pruning to open up dense areas and stimulate new growth for a more balanced and pleasing form of individual shrubs and their big picture impact, and scout for pests.
A dead branch on a rhododendron caught my eye. I’m always very curious about why plants and their parts fail to thrive, so I investigated a bit. I cut off a portion of the dead branch and in its cross section found a dead giveaway of a clue.
It looked like an electric drill had made a 3/16 to 1/4 inch diameter hole in the interior of the stem, parallel to the length of the stem, and I knew right away it was quite likely the work of a rhododendron borer. I kept cutting the branch closer and closer to the ground, and found that the borer hole went all the way down to where the stem met the root flare at soil level. It may be that a second year borer spent some time in the roots, then bored its way toward the tip of this branch, contributing to its demise. I’ll continue to watch carefully for signs of activity and damage, and remember that borers are just one of several flavors of rhododendron pests.

This dead rhododendron branch shows a tunnel entrance created by a rhododendron borer in Sharon, MA.
How do you treat something like borers? Try the following methods, or contact me when you see damage and you need help gathering evidence and deciding how or whether to save your valued shrubs and trees.
Treatment for Rhododendron borers:
Tips to help reduce borers:
Not all damage to rhododendrons is from borers. There are plenty more causes as well. So be careful, don’t jump to conclusions, get a positive ID, and get help if you’re not sure.
CONTACT ME IF YOU NEED A HAND
IF YOU’D LIKE ME TO HAVE A LOOK AT DAMAGED OR DISEASED PLANTS WITH YOU, I’LL PUT ON MY HORTICULTURIST HAT, HAVE A LOOK AND SUGGEST WHAT YOUR BEST NEXT STEPS MAY BE. CLICK HERE TO CONTACT ME