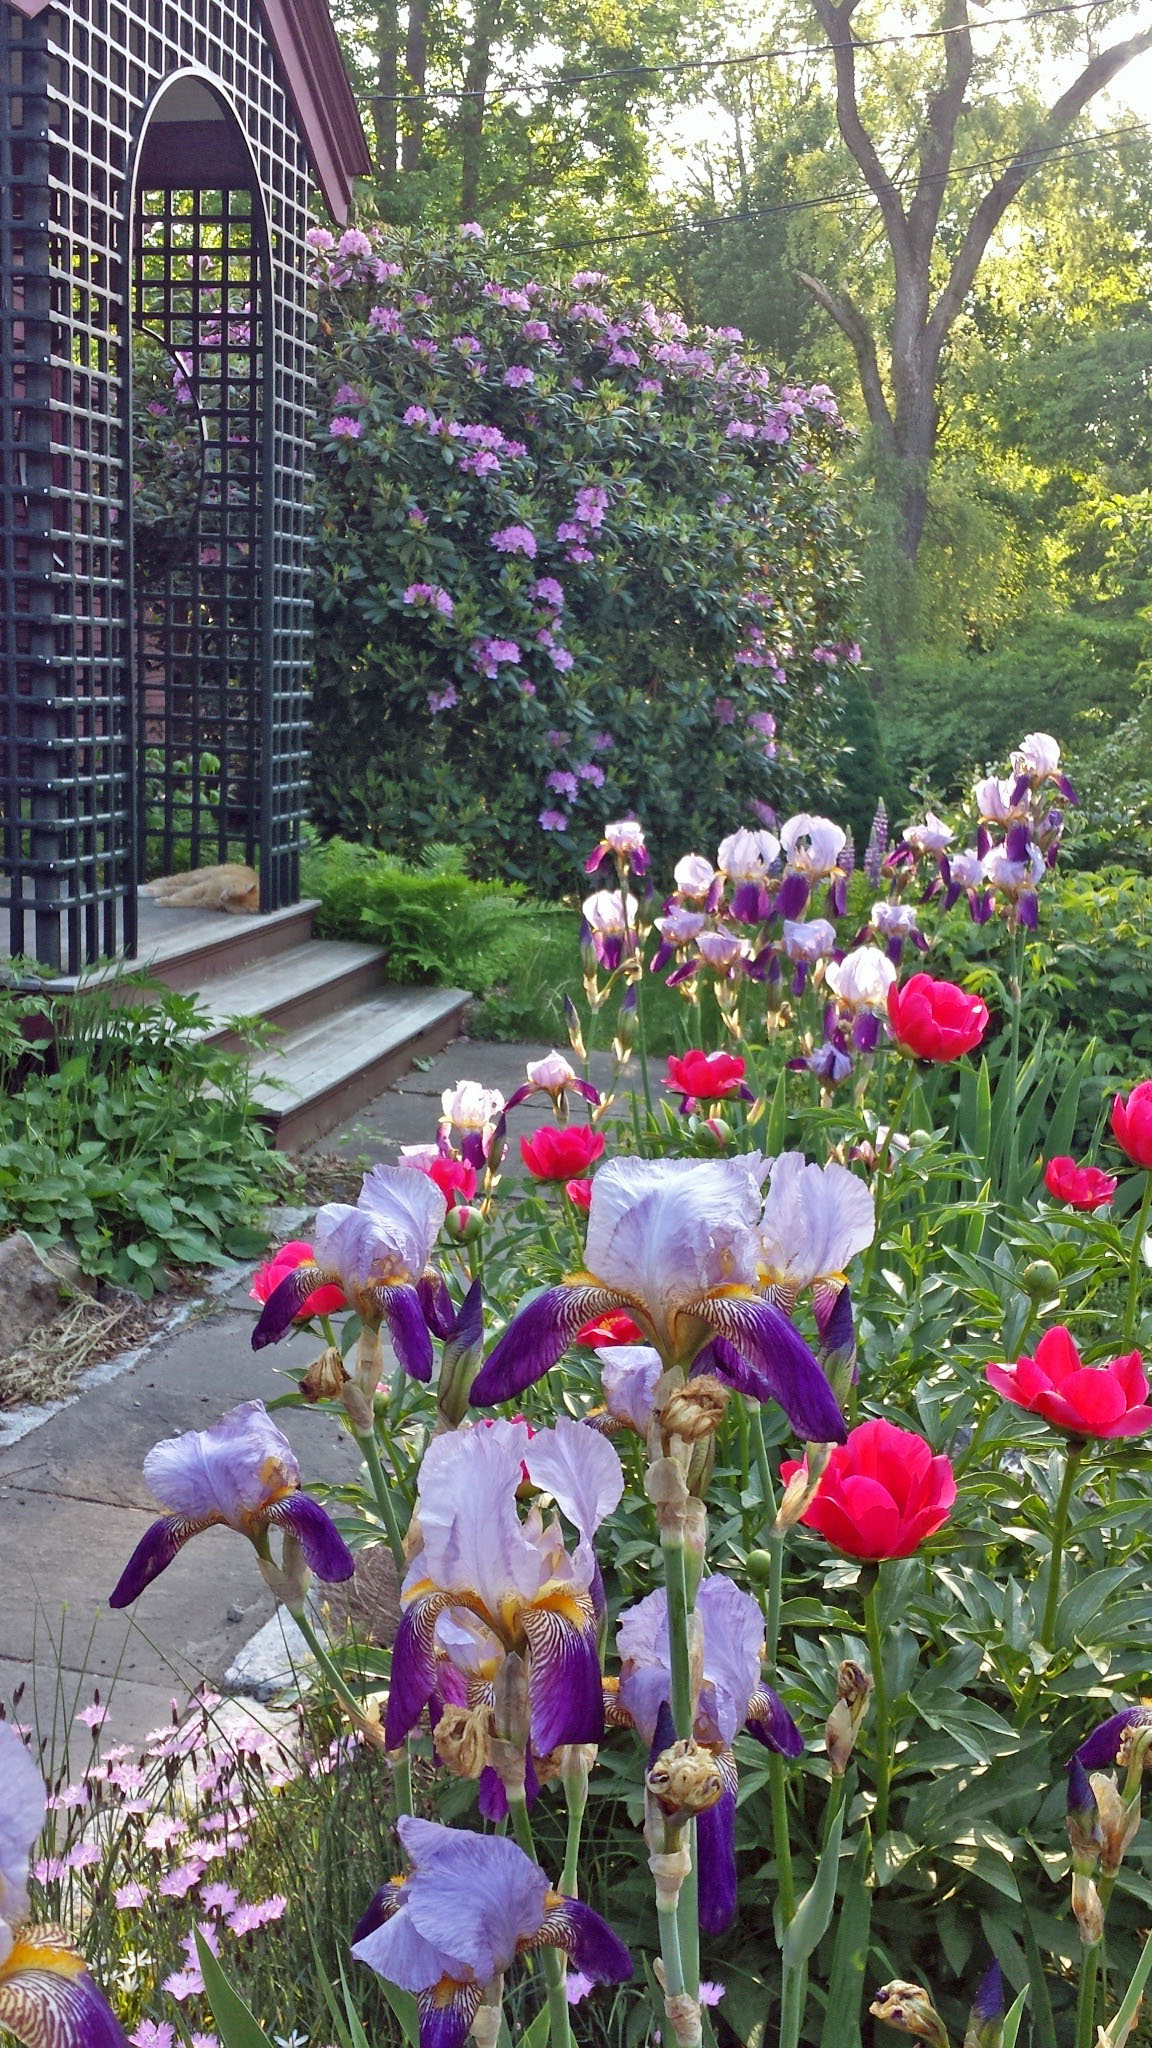
Here’s the short answer to how to stake peonies, Rudbeckia laciniata ‘Herbstonne,’ baptisia, asters and other tall and/or vase-shaped perennials that are at risk of collapsing under their own weight this season. Do these in the spring:
EIGHT STEPS TO STAKE GARDEN PEONIES
- Get stakes, twine and pruners.
- Set five stakes evenly around peony.
- Tie twine to one stake.
- Loop twine around each consecutive stake.
- Return to and loop around first stake.
- Loop twine around every other stake.
- Return to first stake
- Cut and tie off twine.
For more answers, here’s an expanded explanation:
- Gather five garden stakes for each perennial, plus twine and sharp scissors or pruners to cut the twine. Safety glasses or goggles are a great idea too, as getting your eye poked by a stake takes all the fun out of staking.
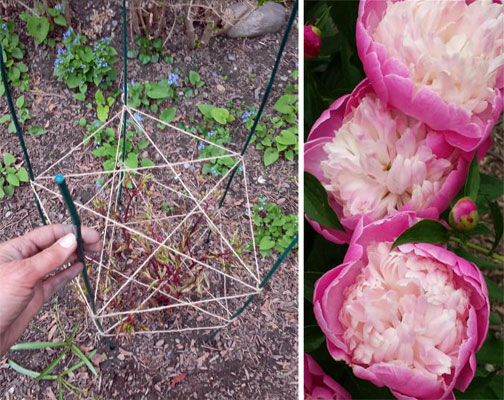
- Push your five stakes into the ground, evenly spaced around the drip line of your perennial. If you view your perennial from above, the drip line is the circle or perimeter of the foliage from which water drips to the ground.
- This third step completely encloses all your perennial stems. Starting with a stake that is towards the back of the perennial, tie a slip knot around the stake about 15 inches above the ground. Next, one stake at a time, consecutively, draw your twine around your circle of stakes, making a complete loop (not a knot) around each stake as you go. When you get back to your starting stake, make a complete loop around it, too.
- This fourth step creates a supporting matrix of spaces through which your stems will grow. Resuming at what was once your first and is now your last stake, draw your twine around every other stake, making a complete loop around each of these stakes as you go. You may need to carefully pass the twine between stems to reach your next stake. When you get back to your original stake, cut your twine long enough to tie a slip knot, and tie the knot. If you’ve done this correctly and you could look at it from above, your twine pattern will look like a star inside a circle.
- Repeat steps 3 and 4 at least one more time, higher up on the stakes to support future growth. You may be tempted to cut the stakes to a lower height, but you’ll risk not having enough support for the flower stems once they elongate and your flowers are in full bloom, especially after they become heavy with rain.
Please follow and like us: