
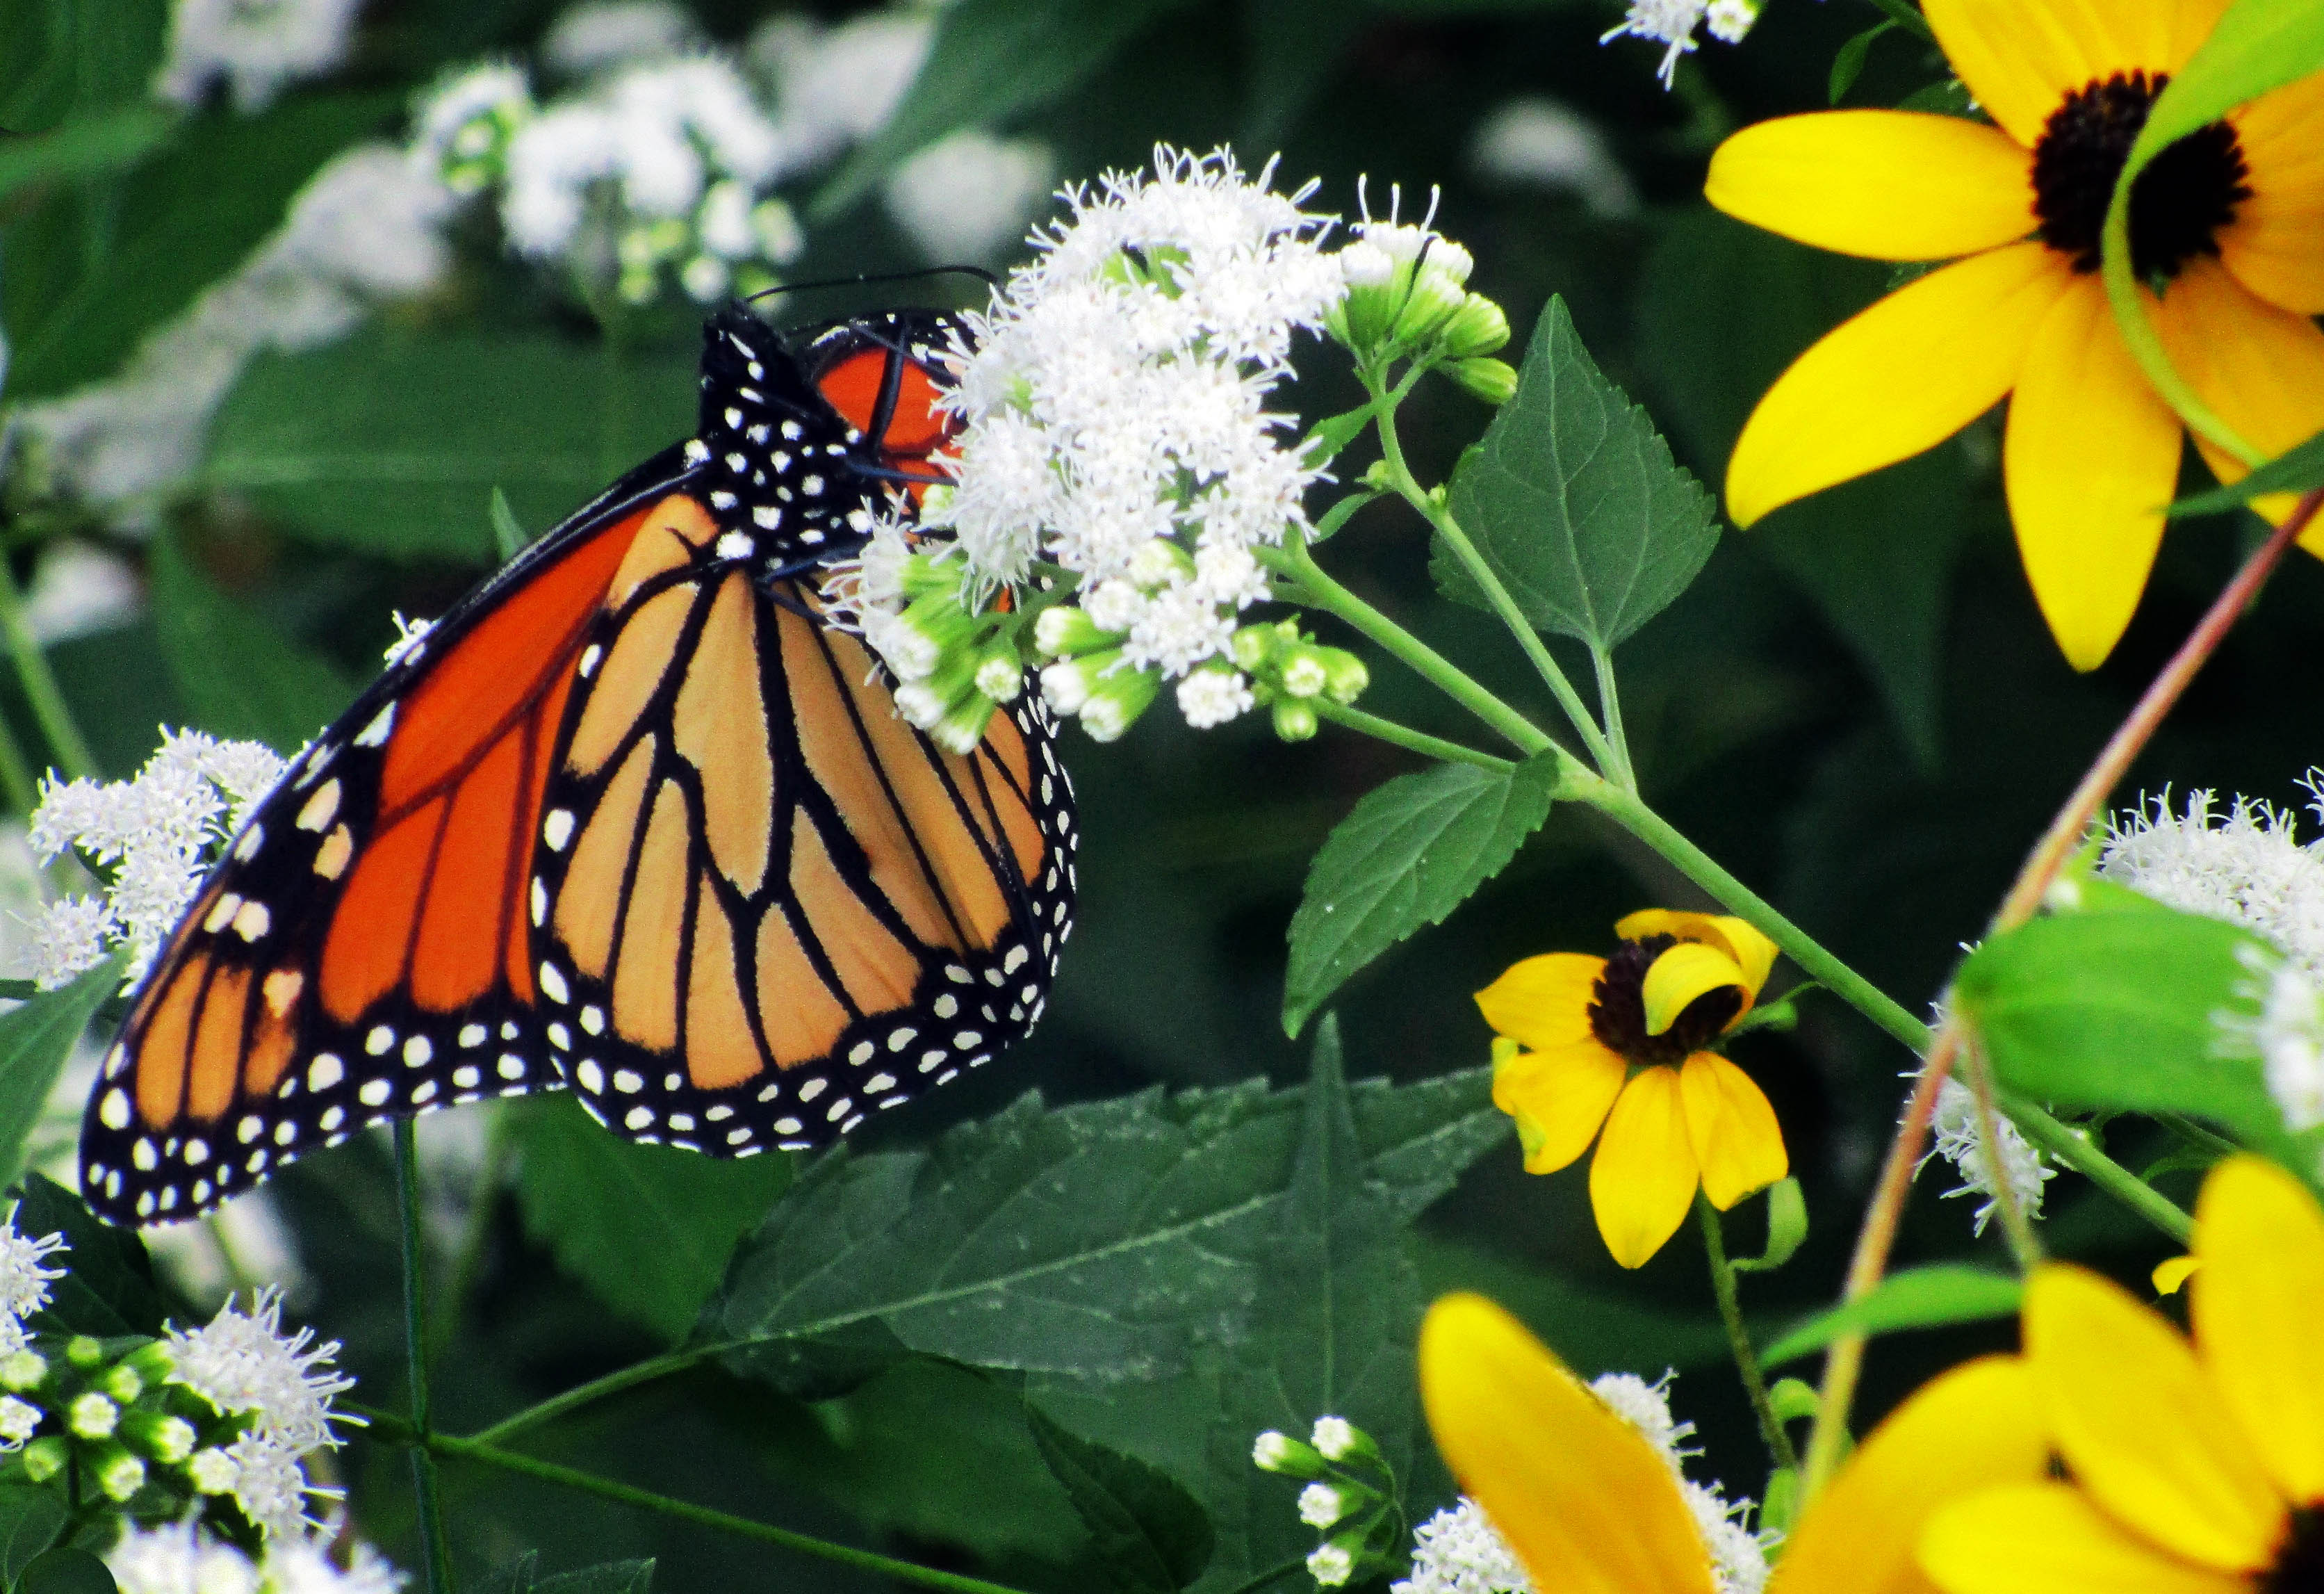
 A monarch butterfly, Danaus plexippus, feeds on the nectar of white snakeroot flowers, Ageratina altissima, during its southern migration in a Sharon, MA garden on September 26, 2019. This pair of natives co-evolved since the retreat of the last ice age, and they depend on one another, and the entire web of life, for their continued existence.
MONARCHS DELIGHT
September 26th was like a dream to me. I looked out the kitchen window while doing the dishes, and there were several monarchs in my gardens, all at one time. I’d seen one or two here and there this season, but never a parade of several at a time, like that day. I dropped the dishes and dashed out with my camera.
Later, on arriving at a Sharon, MA client’s gardens, Monarchs flew up every time I turned a corner on the mowed paths that snake around many beds where clouds of white snakeroot are now in bloom. I counted at least two dozen monarchs at least twice, and twice saw four monarchs on one snakeroot. It was like living and working in a dream where the monarchs have recovered and are robust in numbers again. It wasn’t a dream, but it was a remarkable parade of flight and feed that I shall not forget. Of course there were other native butterflies, like spangled frittilaries, and native bees, like Bombus sp., and other native plants in bloom.
THE BEST PLANTS FOR POLLINATORS: We can all make a difference in our yards, our gardens, our landscapes, our containers, one plant at a time, by design. Please join me doing so! These are the native plants that support the entire life cycle of the most butterfly and moth species:
Trees and shrubs:
- Oak trees – Quercus sp. such as white, red, pin, black, bear
- Willow trees – Salix sp.
- Black cherry trees – Prunus serotina
Herbaceous plants:
- Goldenrods – Solidago sp. such as blue-stem (axillary), seaside, bog, white, showy, downy, zigzag
- Asters – Symphyotrichum, Oclemena, and Aster sp. like New England, tartarian, heart-leaved, large-leaved, purple-stem, bushy, small white
- Milkweeds – Asclepias sp. like common, butterfly weed, swamp, poke, butterfly, clasping, green
Have fun, and let me know if you need a hand!